

Installing Plasfloor is quick and straightforward. The tiles can be laid directly onto most concrete floors, including surfaces with minor cracks, imperfections and uneven areas, with little or no preparation required. Unlike floor paint or coatings, your new floor can be used immediately after installation.
Step 1: Before Installation
Before you begin, allow the tiles to acclimatise in the room where they will be installed for at least 24 hours.
As with all PVC flooring products, Plasfloor tiles may expand and contract slightly with temperature changes. In an area the size of a typical double garage, this movement can be up to approximately ±5mm.
Before laying the tiles:
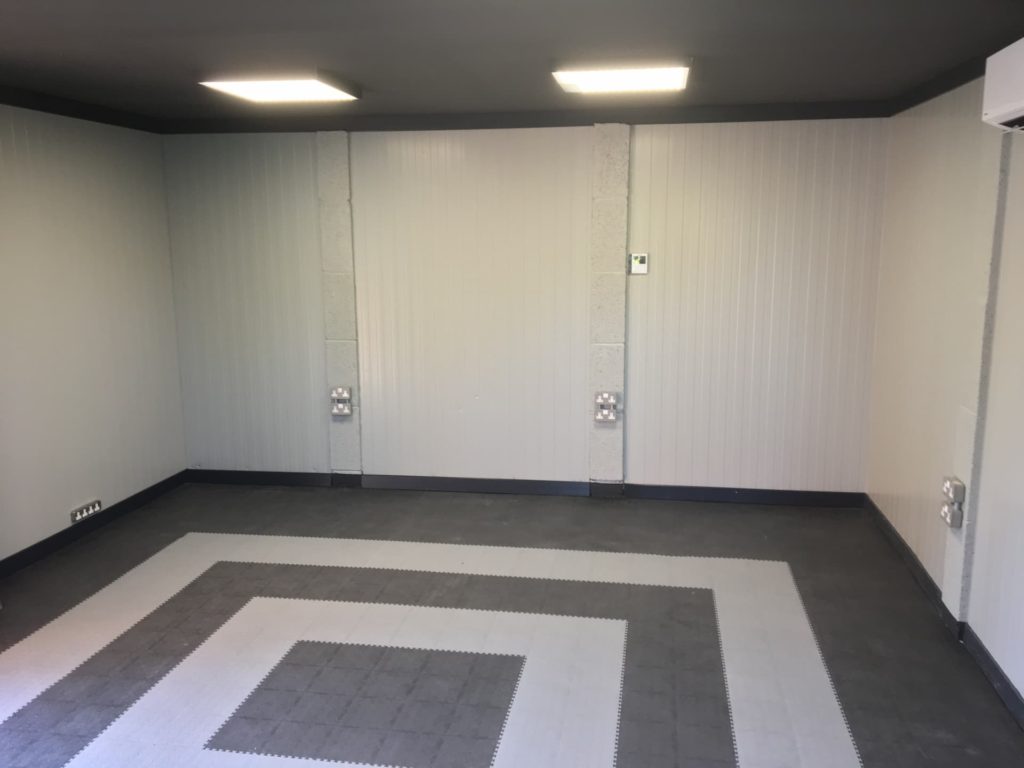
For best results, begin by creating a 3m x 3m square using 225 tiles (9 packs).
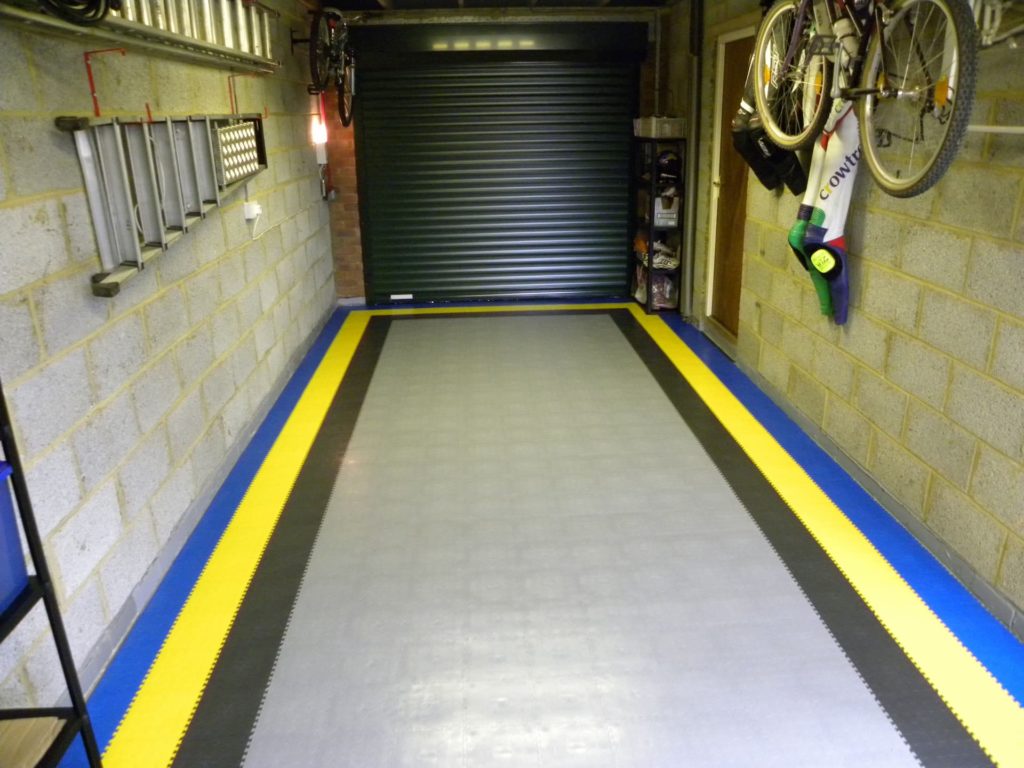
Where doorways, entrances or exposed edges are present, do not remove the dovetail connectors. This allows edging strips to be fitted for a professional finished appearance.
View our range of edging strips for a clean and safe transition between floor levels.
If the room is not perfectly square, the perimeter tiles can be trimmed using standard cutting tools to achieve a precise fit around walls, pillars and other obstacles.
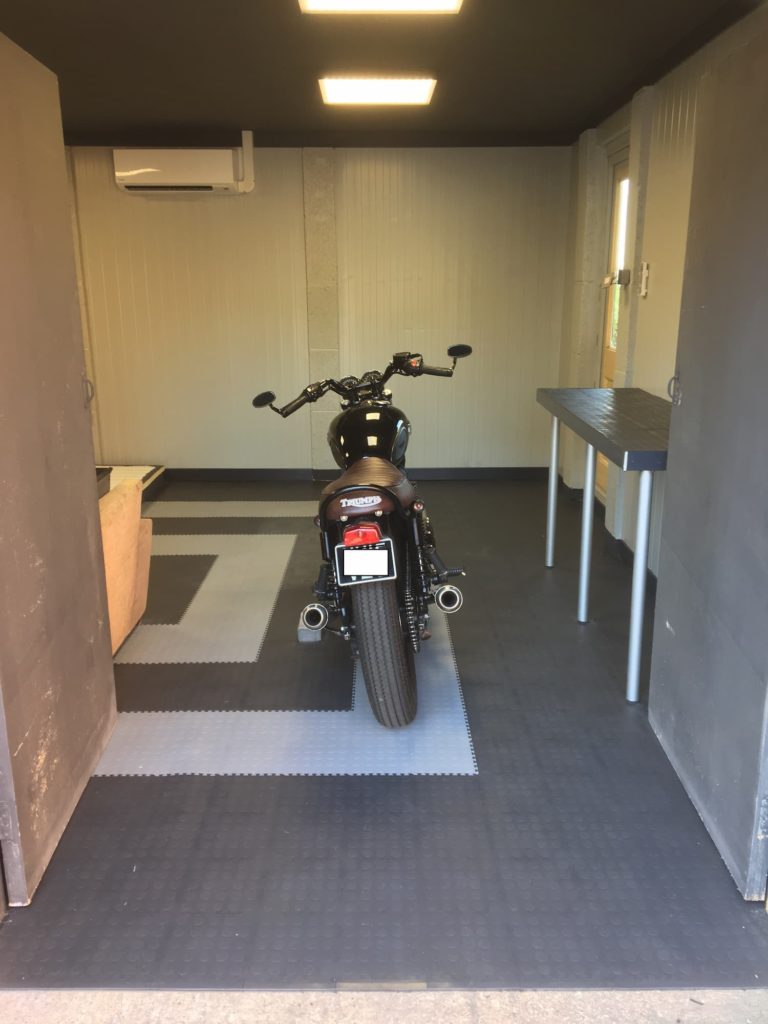
Durable, easy to clean and simple to lay, Plasfloor is the perfect interlocking floor tile solution for any industrial environment.
Durable, easy to clean and simple to lay, Plasfloor interlocking tiles are 4.5mm of thick, solid and flexible PVC, designed to withstand industrial use with the harsh impact of daily factory traffic.
The Clarity Plastics Strategic Plan aims to improve energy efficiency year on year. This policy is driven by our desire for continual improvement and our commitment to ISO14001
Answering all your frequently asked questions about the ideal flooring solution. Feel free to get in touch via email, phone or our contact form if you have a question that isn’t included in our FAQs.
| Cookie | Duration | Description |
|---|---|---|
| cookielawinfo-checkbox-analytics | 11 months | This cookie is set by GDPR Cookie Consent plugin. The cookie is used to store the user consent for the cookies in the category "Analytics". |
| cookielawinfo-checkbox-functional | 11 months | The cookie is set by GDPR cookie consent to record the user consent for the cookies in the category "Functional". |
| cookielawinfo-checkbox-necessary | 11 months | This cookie is set by GDPR Cookie Consent plugin. The cookies is used to store the user consent for the cookies in the category "Necessary". |
| cookielawinfo-checkbox-others | 11 months | This cookie is set by GDPR Cookie Consent plugin. The cookie is used to store the user consent for the cookies in the category "Other. |
| cookielawinfo-checkbox-performance | 11 months | This cookie is set by GDPR Cookie Consent plugin. The cookie is used to store the user consent for the cookies in the category "Performance". |
| viewed_cookie_policy | 11 months | The cookie is set by the GDPR Cookie Consent plugin and is used to store whether or not user has consented to the use of cookies. It does not store any personal data. |